Unclean Keurig? Step-by-Step Guide to Effectively Clean Your Coffee Maker for Enhanced Flavors

Apr
Your Keurig might be more unsanitary than you realize. Discover what actions you can take
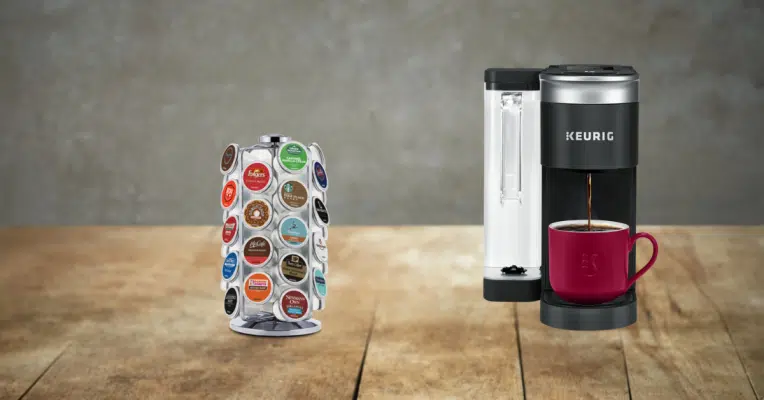
Owning a Keurig can revolutionize your morning routine, turning the arduous task of brewing coffee into a mere push of a button. However, maintaining the cleanliness of your Keurig is a completely different challenge. Many Keurig owners use their machines daily, yet often neglect regular cleaning. When was the last time you truly deep-cleaned your Keurig?
A Keurig that isn’t cleaned regularly can not only suffer in performance but also in the quality of coffee it produces. Over time, a dirty coffee maker can become a breeding ground for mold and bacteria, compromising both your machine and your health. Luckily, cleaning your Keurig thoroughly isn’t as daunting as it might seem. This comprehensive guide will walk you through the essential steps to keep every part of your Keurig in pristine condition, ensuring that your coffee remains delicious and your machine operates efficiently.
Understanding the Importance of Cleaning Your Keurig
First, it’s crucial to understand why keeping your Keurig clean is necessary. Coffee makers are moist environments where residual coffee and water can create a habitat for mold and bacteria to flourish if not properly maintained. These unwanted guests can not only cause health issues but can also impact the flavor of your coffee, leaving it tasting off or stale.
Daily Cleaning Steps
Exterior and Drip Tray
Begin your cleaning routine by wiping down the exterior of your Keurig. Use a warm, damp cloth or paper towel to remove dust, spills, and any coffee stains. Keurig recommends this simple step be done daily, and it’s easy to integrate it into your routine—just ensure the machine is turned off and unplugged first.
Next, focus on the drip tray, where spills and drips collect and stains can accumulate. Remove the drip tray and wash it with warm water and a little dish soap. This component should also be cleaned daily to prevent any buildup and keep it looking new.
Water Reservoir and Lid
The water reservoir should also be cleaned daily. Remove it along with its lid and wash both pieces with warm soapy water. If your model allows, you can place the reservoir and lid in the dishwasher for a deeper clean, but remember to remove any water filters beforehand. Fresh, cold water in your Keurig not only improves the taste but also ensures that old, stagnant water doesn’t sit in the machine.
Coffee Carafe and Basket
If you own a Keurig model like the K-Duo that comes with a traditional coffee pot, there’s an extra step in your daily cleaning regimen. After brewing, wash the coffee carafe and basket. These can be cleaned by hand or in the dishwasher, depending on your specific model.
Weekly Cleaning Tasks
Pod Holder Cleaning
The pod holder is a critical component that can become particularly dirty. It holds the coffee pod during brewing and can accumulate coffee grounds and oils. Over time, these residues can foster mold growth if not cleaned regularly. Keurig suggests cleaning this part weekly, but you may find it needs a wipe down more frequently depending on use.
To clean the pod holder, first remove it from the Keurig by gently pulling on the rim of the assembly. Detach the pod holder from the funnel, being cautious of the sharp exit needles. Rinse all parts with water, and for more stubborn stains or buildup, use a soft brush to scrub the components gently.
Monthly Maintenance: Descaling
Descaling is crucial for removing mineral buildup inside your Keurig’s brewing mechanism, which can affect both performance and taste. Keurig recommends descaling every three to six months, but this may vary depending on your water hardness and how frequently you use your machine.
To descale your Keurig, you’ll need either a homemade solution of equal parts white vinegar and water or a commercial descaling solution. Fill the reservoir with your chosen solution and run the Keurig without a coffee pod, just as if you were brewing a cup of coffee. Once complete, let the machine sit for about 45 minutes. Finally, flush the system by running it several times with just plain water to ensure no cleaning solution remains.
Keeping Your Keurig in Top Shape
Regular maintenance of your Keurig doesn’t just prolong the life of your coffee maker; it also ensures that each cup of coffee is as fresh and tasty as possible. With these straightforward steps integrated into your routine, your Keurig will remain clean, efficient, and ready to brew the perfect cup every time.